Intro
As a founder in the earliest phases of your company or a growth marketer in a larger team, you are the right guy to get out of the building and lay the groundwork for your business' presence externally.
You may embark on lots of outreach activity via LinkedIn, networking among other founders, and showcasing your product during events and fairs. In many of these cases, you might find yourself in the need of enriching and qualifying people whom you met, but whose contact details are not always available and consistent (e.g. you know the full name and the company, but not the email).
In this short guide, we will go through everything you need to enrich and qualify a list of contacts, starting from fragmented information.
Here’s a sneak peek of what you will get:

Let's start!
To understand how we’re going to build it, let’s go step by step.
To start, you need to enable the Hunter or Clearbit integrations. Both providers offer a powerful service to check and verify companies' domains and people's emails, helping us fill in the blanks in our list of contacts. For this purpose, we will use Hunter as a verification provider.
Click on the Connect button and follow the instructions. The Auth page will open: enter your credentials and authorize Rows to retrieve your data.
Now you are ready to build your report. Click on the Create spreadsheet button at the top of your dashboard.
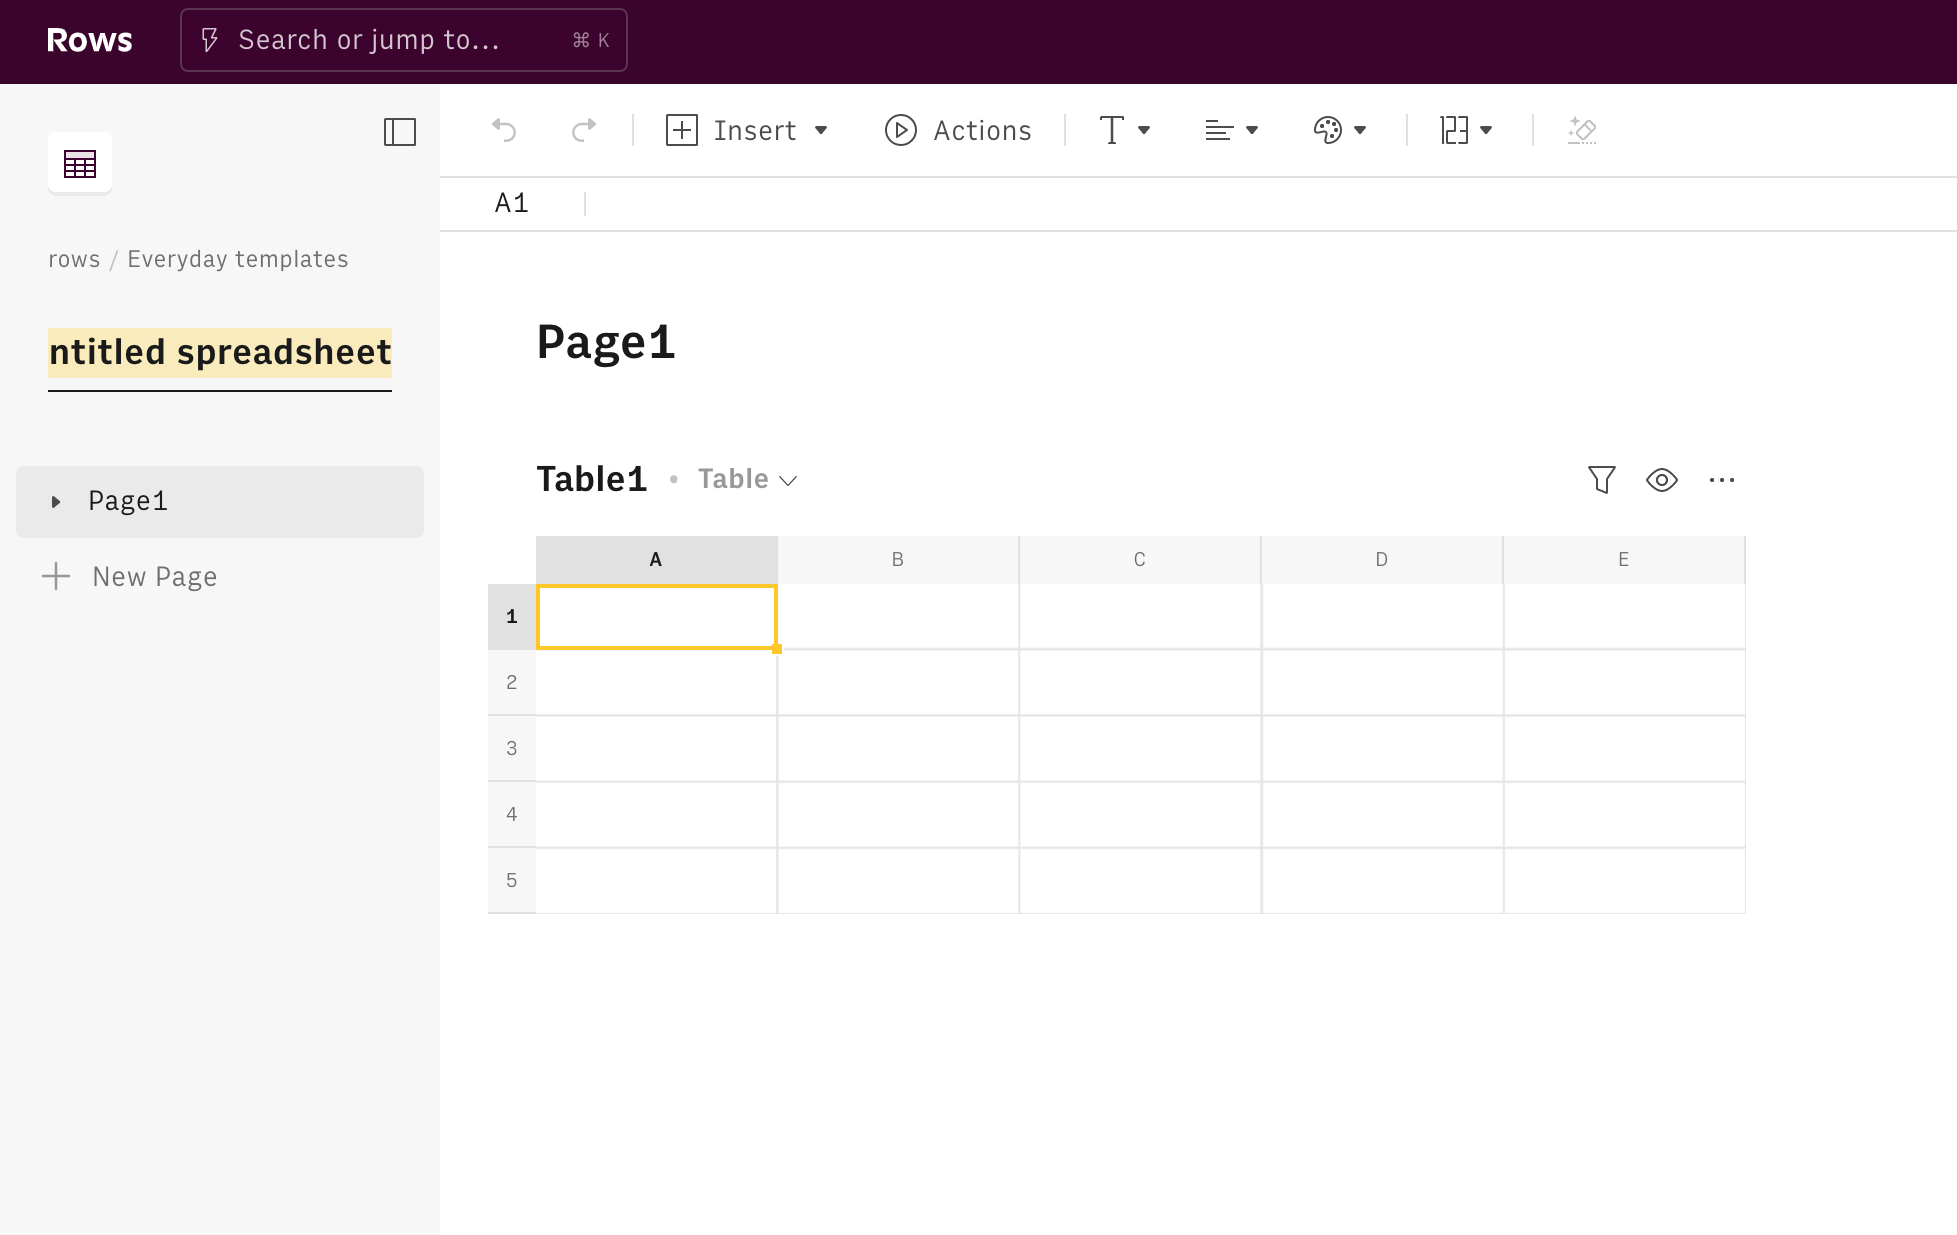
Once you land on your spreadsheet, first of all, rename it: click on its title in the top left corner and type the new name. Use it also as a title for the first page, by pasting it on the page title. It'll be easier to find it later on.

Let's imagine you are back from the Websummit, where you met a lot of people interested in your product and you now want to follow up with them via email.
Use columns A, B, and C to input respectively the First Name, Last Name, and the company of the people you met, as follows

Column D will host our FIND_DOMAIN() function that retrieves the company domain to build the email address.
Select cell D2 and type the following function in the formula bar, using the company name in C2 as an argument:
1=FIND_DOMAIN(C2)Then drag the formula for the whole length of the list, as follows:

Column E will finally enclose the email address. To get them to type 'find' in the formula bar and select FIND_EMAIL_HUNTER():

This function uses the domain, first name, and last name as arguments to find the email. Here you should use respectively cells D2, A2 and B2, as follows:
1=FIND_EMAIL_HUNTER(D2,A2,B2)Then drag down the formula to obtain:

Column D is now populated with {data} cells that contain data about the contact you input. To display the email address, click on the cell and then on "Inspect Data". A panel will open on the right end side displaying data in JSON format, including the email address:

Click on the COPY button and then paste the value in cell F2. The formula here uses our PARSE() function to read and extract specific data points from the JSON.

In some cases, like the one above, some emails are 'catch-all' and thus not retrievable.
Finally, before starting the reach out you may be interested in assessing a score (out of 100) associated with any email, that is the likelihood that the email is the right one.
Go back to the {data} cell in D2, click on Inspect data and copy the path of the "score" data point.

Then paste it in cell G2, as follows:

Automating sync with CRM
Once your lead list has been enriched, you can leverage Rows CRM integration to automate the sync with your CRM.
Go to column H of your table, name it Sync to CRM and click on the Actions menu. Depending on your CRM, type in the search bar Hubspot, Salesforce, Pipedrive, or Zoho.

For the purpose of this guide, we will enable the sync with Salesforce using the function Add or update existing contact on Salesforce.

Once the wizard is open on the right end side, follow the link to Connect the integration: a Salesforce Auth page will open, all you need to do is to log in with your credentials.
Once you are back to Rows, the wizard will walk you through the function configuration. Fill the First name, Last name, and email fields, referring to cells A2, B2, and F2 respectively, and click on Add function.

A confirmation message will appear in the cell, saying 'Contact added' or 'Contact updated'. Drag or copy-paste the formula along the column to easily apply it to the whole list.
